KLPAC

Semester II
July 15, 2013

Materials & Finishes Study Tour
Group Members: Suet Ying, Malika, Ken, Kee Hung


Poster Designs

Did two simple posters for this one company's sport club events.

16.8.2013


This is inspired by one of the posters I found on the internet. 
A bit modification here and there.
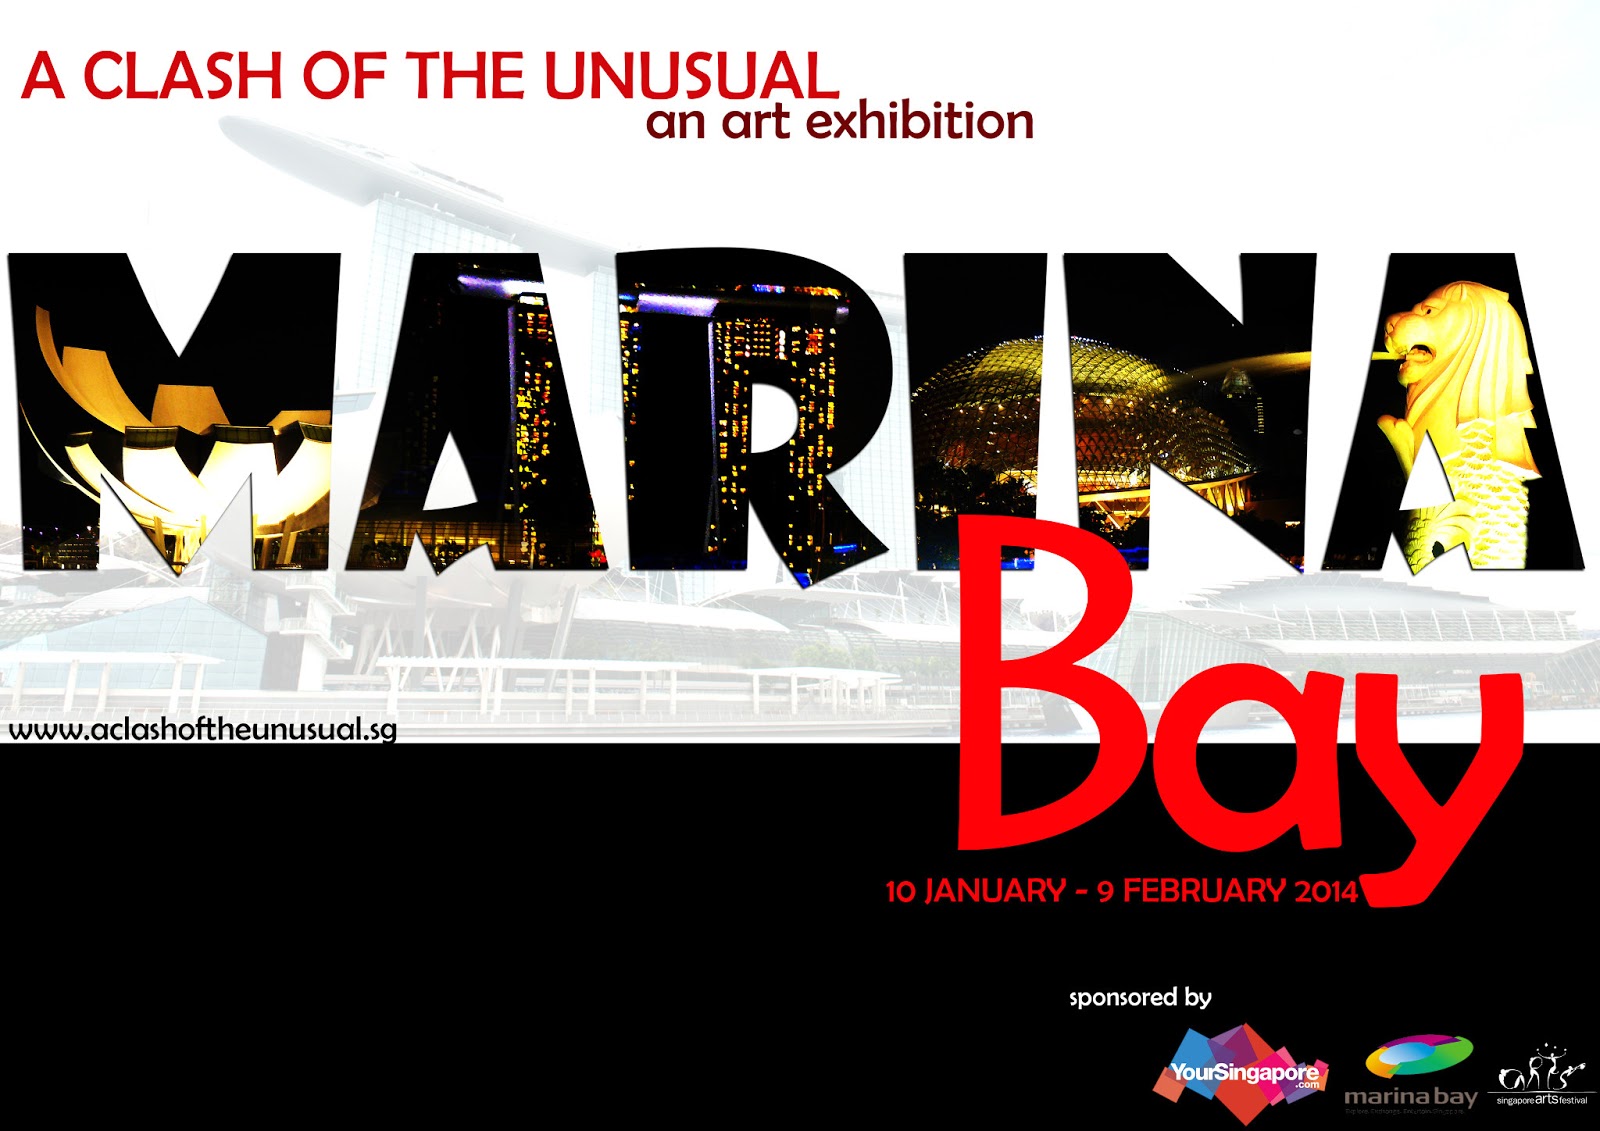

26.2.2014

Without logos.

Final.

This is the combination of a few ideas I had through research.
Initially I wanted to make it as big versus small footprints, cause you know, Gulliver encountered dwarves on his journey. Unfortunately, it didn't turn out too well. Sigh.
These are the footprints that I have made.

Halong Bay

Ho Chi Minh Mausoleum, Hanoi

Tam Coc

Cute footprints, aren't they? :D

A lot more to learn if I want to master PhotoShop!
Fighting!

Semester II

New semester.
New season.
New challenges.
New assignments.
New lecturers.


But God is greater than all these. :)


 God bless,
Laryssa

Assignment 3: Poster

Assignment 1: Checked!
Assignment 2: Checked!
Assignment 3: Checked! 

Yay! It has finally come to the end of the semester and we will be submitting our final assignment first thing tomorrow. Many thanks to you again, Mr Jeffrey Patrick! :)

A Clash of the Unusual: An Art Exhibition


Testing different backgrounds

Final work

After importing all the photos required, I edited them by adjusting the Brightness/Contrast & Opacity, erasing (with Masking) wherever necessary, and resizing the images accordingly (using Free Transform Tool).

The image that I've used as the background for the word MARINA. Not very nice and neat here but it looks okay in the text. :)
As for the image in text, it's created using the following simple steps:
1: Open A Photo To Place Inside Your Text
2: Duplicate The Background Layer (Layer 1)
3: Add A New Blank Layer Between The Two Layers
4: Fill The New Layer With White
5: Select “Layer 1″ In The Layers Palette
6: Select The Type Tool
7: Choose A Font In The Options Bar
8: Set White As Your Foreground Color
9: Add Your Text
10: Resize and Reposition The Text With The Free Transform Command
11: Drag The Text Layer Below “Layer 1″
12: Select “Layer 1″ Again
13: Create A Clipping Mask
14: Add A Drop Shadow


Anddd woolaa! You've gotten what you need. :)

 God bless,
Laryssa