Assignment 3: Poster

Assignment 1: Checked!
Assignment 2: Checked!
Assignment 3: Checked! 

Yay! It has finally come to the end of the semester and we will be submitting our final assignment first thing tomorrow. Many thanks to you again, Mr Jeffrey Patrick! :)

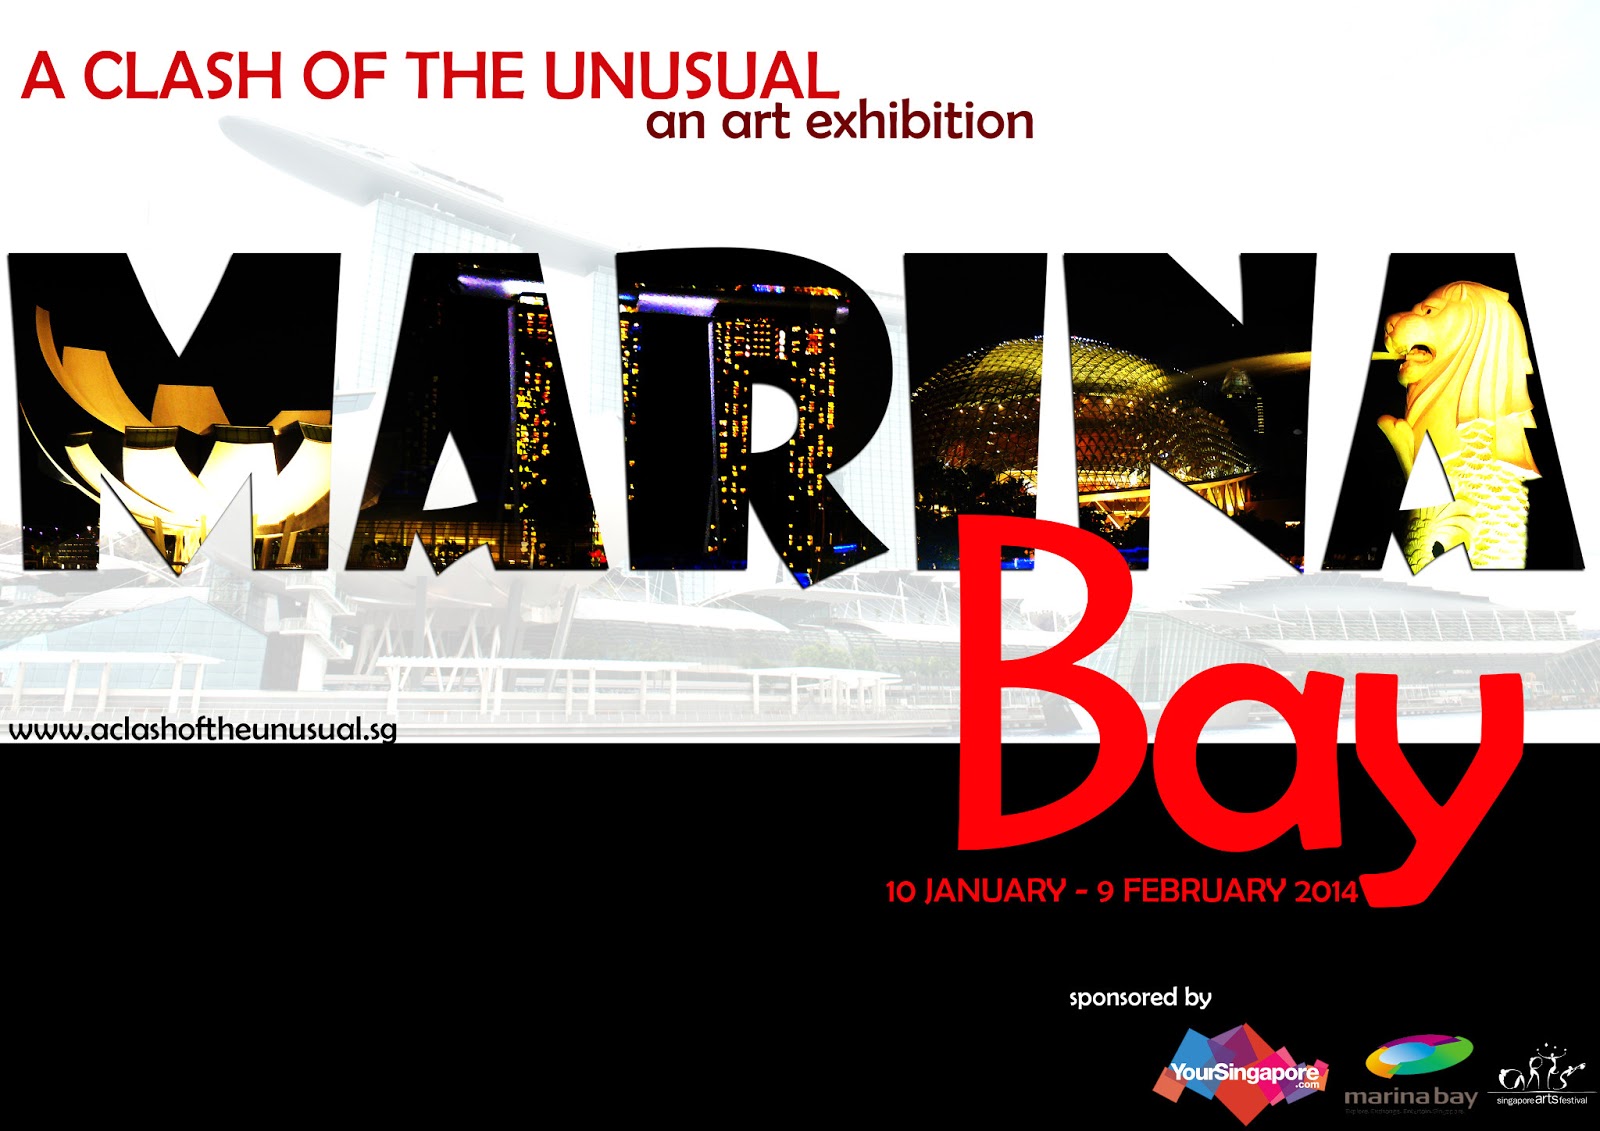
A Clash of the Unusual: An Art Exhibition

Testing different backgrounds

Final work

After importing all the photos required, I edited them by adjusting the Brightness/Contrast & Opacity, erasing (with Masking) wherever necessary, and resizing the images accordingly (using Free Transform Tool).

The image that I've used as the background for the word MARINA. Not very nice and neat here but it looks okay in the text. :)
As for the image in text, it's created using the following simple steps:
1: Open A Photo To Place Inside Your Text
2: Duplicate The Background Layer (Layer 1)
3: Add A New Blank Layer Between The Two Layers
4: Fill The New Layer With White
5: Select “Layer 1″ In The Layers Palette
6: Select The Type Tool
7: Choose A Font In The Options Bar
8: Set White As Your Foreground Color
9: Add Your Text
10: Resize and Reposition The Text With The Free Transform Command
11: Drag The Text Layer Below “Layer 1″
12: Select “Layer 1″ Again
13: Create A Clipping Mask
14: Add A Drop Shadow


Anddd woolaa! You've gotten what you need. :)

 God bless,
Laryssa

Assignment 2: Text Protrait of Someone You Respect

Juwita Suwito
A multi-talented local artist.
This is the song that introduced me to her.


Her text protrait:


Procedures:
1. Type the word using Horizontal Type Tool.
2. Rasterise - Type the word and then Transform - Warp it.
3. Adjust the word to fit into its respective space.
4. Repeat Step 1 - 3.
5. If the word becomes blurred after warping, Select the word > Ctrl+Shift+Inverse (I) > Delete > Deselect.
6. The colours of the words on the lips are predetermined before rasterising them.
7. Use Freeform Pen Tool to trace the outlines, create shape and fill the shape of the microphone. The shapes and lines can be adjusted using Direct Selection Tool.

 
Candidly speaking, I regretted not being able to make it more aesthetically due to several human and technical errors. I've learned my lesson. :'(

Lesson learned:
1. Make sure the size of the image is of required. 
2. Save a copy of your work after several steps before continuing.


God bless,
Laryssa

Assignment 1: Week 8 - 10 (Free Topics)

The descriptions of the techniques used are very brief because they are all similar to the ones explained in the previous posts. Be flexible with the things you have learned yo! 

 
Cookie Monster
Onomm nomm nomm... Cookies!


The background is created using Filters whereas the Cookie Monster and the word bubble are drawn using Free Pen Tool. The word "COOKIES" is written using Horizontal Type Tool, then rasterised before using Free Transform Tool to adjust the angle.


City of Rock n' Roll


The background colour is filled using Paint Bucket Tool. The outlines of the buildings are drawn using Freeform Pen Tool. The words are form using Horizontal Type Tool > Rasterise - Type > Transform - Warp.


Strawberry Tongue
I know this is very ewwwwwwwww... But please bear with me through this last one.


Images of the tongue and the strawberry are gathered. Adjustment - Desaturate the tongue and save it as a displacement psd file. Reopen the original file. Distort - Displace the strawberry using the displacement psd file saved earlier. Adjust the horizontal and vertical scale accordingly. Erase the unwanted areas of the strawberry image using Brush Tool after applying Masking.


God bless,
Laryssa

Assignment 1: Week 7

A Picture Speaks A Thousand Words
When it is written all over your face...


Procedures:
1. Type the word using Horizontal Type Tool.
2. Rasterize - Type the word then Transform - Warp it.
3. Adjust the word to fit into the space available.
4. Repeat Step 1 - 3.
5. If the word becomes blurred after warping, Select the word > Ctrl+Shift+Inverse (I) > Delete > Deselect.

Special note: Choose the right colour combinations to complement the background colour.


God bless,
Laryssa

Assignment 1: Week 6

Displacement
Flag:
Before:
Flag
Cloth
After:

Procedures:
1. Adjustment - Desaturate the cloth layer and save it as a displacement psd file. Reopen the original file.
2. Distort - Displace the flag using the displacement psd file saved earlier. Adjust the horizontal and vertical scale accordingly.


Portrait
Before:


After:

Procedures:
1. Adjustment - Desaturate the man layer and save it as a displacement psd file. Reopen the original file.
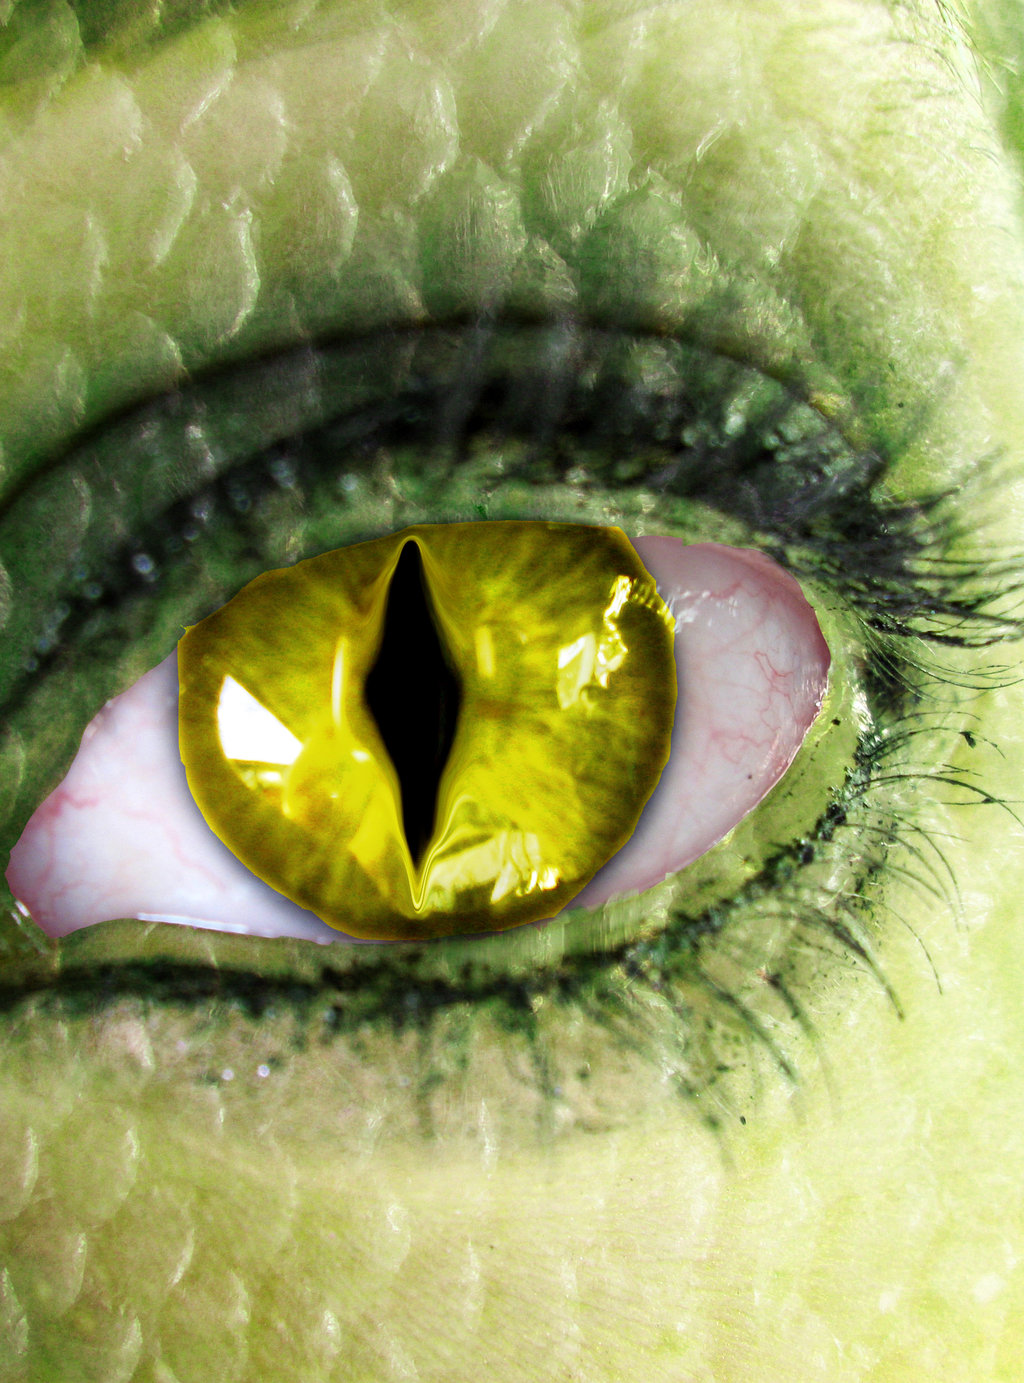
2. Distort - Displace the snake texture layer using the displacement psd file saved earlier. Adjust the horizontal and vertical scale accordingly.
3. Apply Gaussian Blur to the snake texture. Apply Burn Tool to the touch up the image further.
4. Cut and Paste the snake eye onto the man's eyes. Adjust using Free Tranform Tool.
5. Colour the lips using Brush Tool. Adjust the opacity of the brush accordingly.


God bless,
Laryssa